Start a conversation on WhatsApp through a webhook
Trigger a new WhatsApp conversation from an external system using the Webhook integration and the Start Conversation Card.
Prerequisites
You will need:
- A configured WhatsApp integration
- A WhatsApp Message Template (required for starting conversations proactively)
This guide walks you through starting a WhatsApp conversation when an external system sends a request to your bot’s webhook. Use this when you want to initiate a chat from your backend, CRM, or another service (for example, when a support ticket is created or a user signs up).
1. Install and configure the Webhook integration
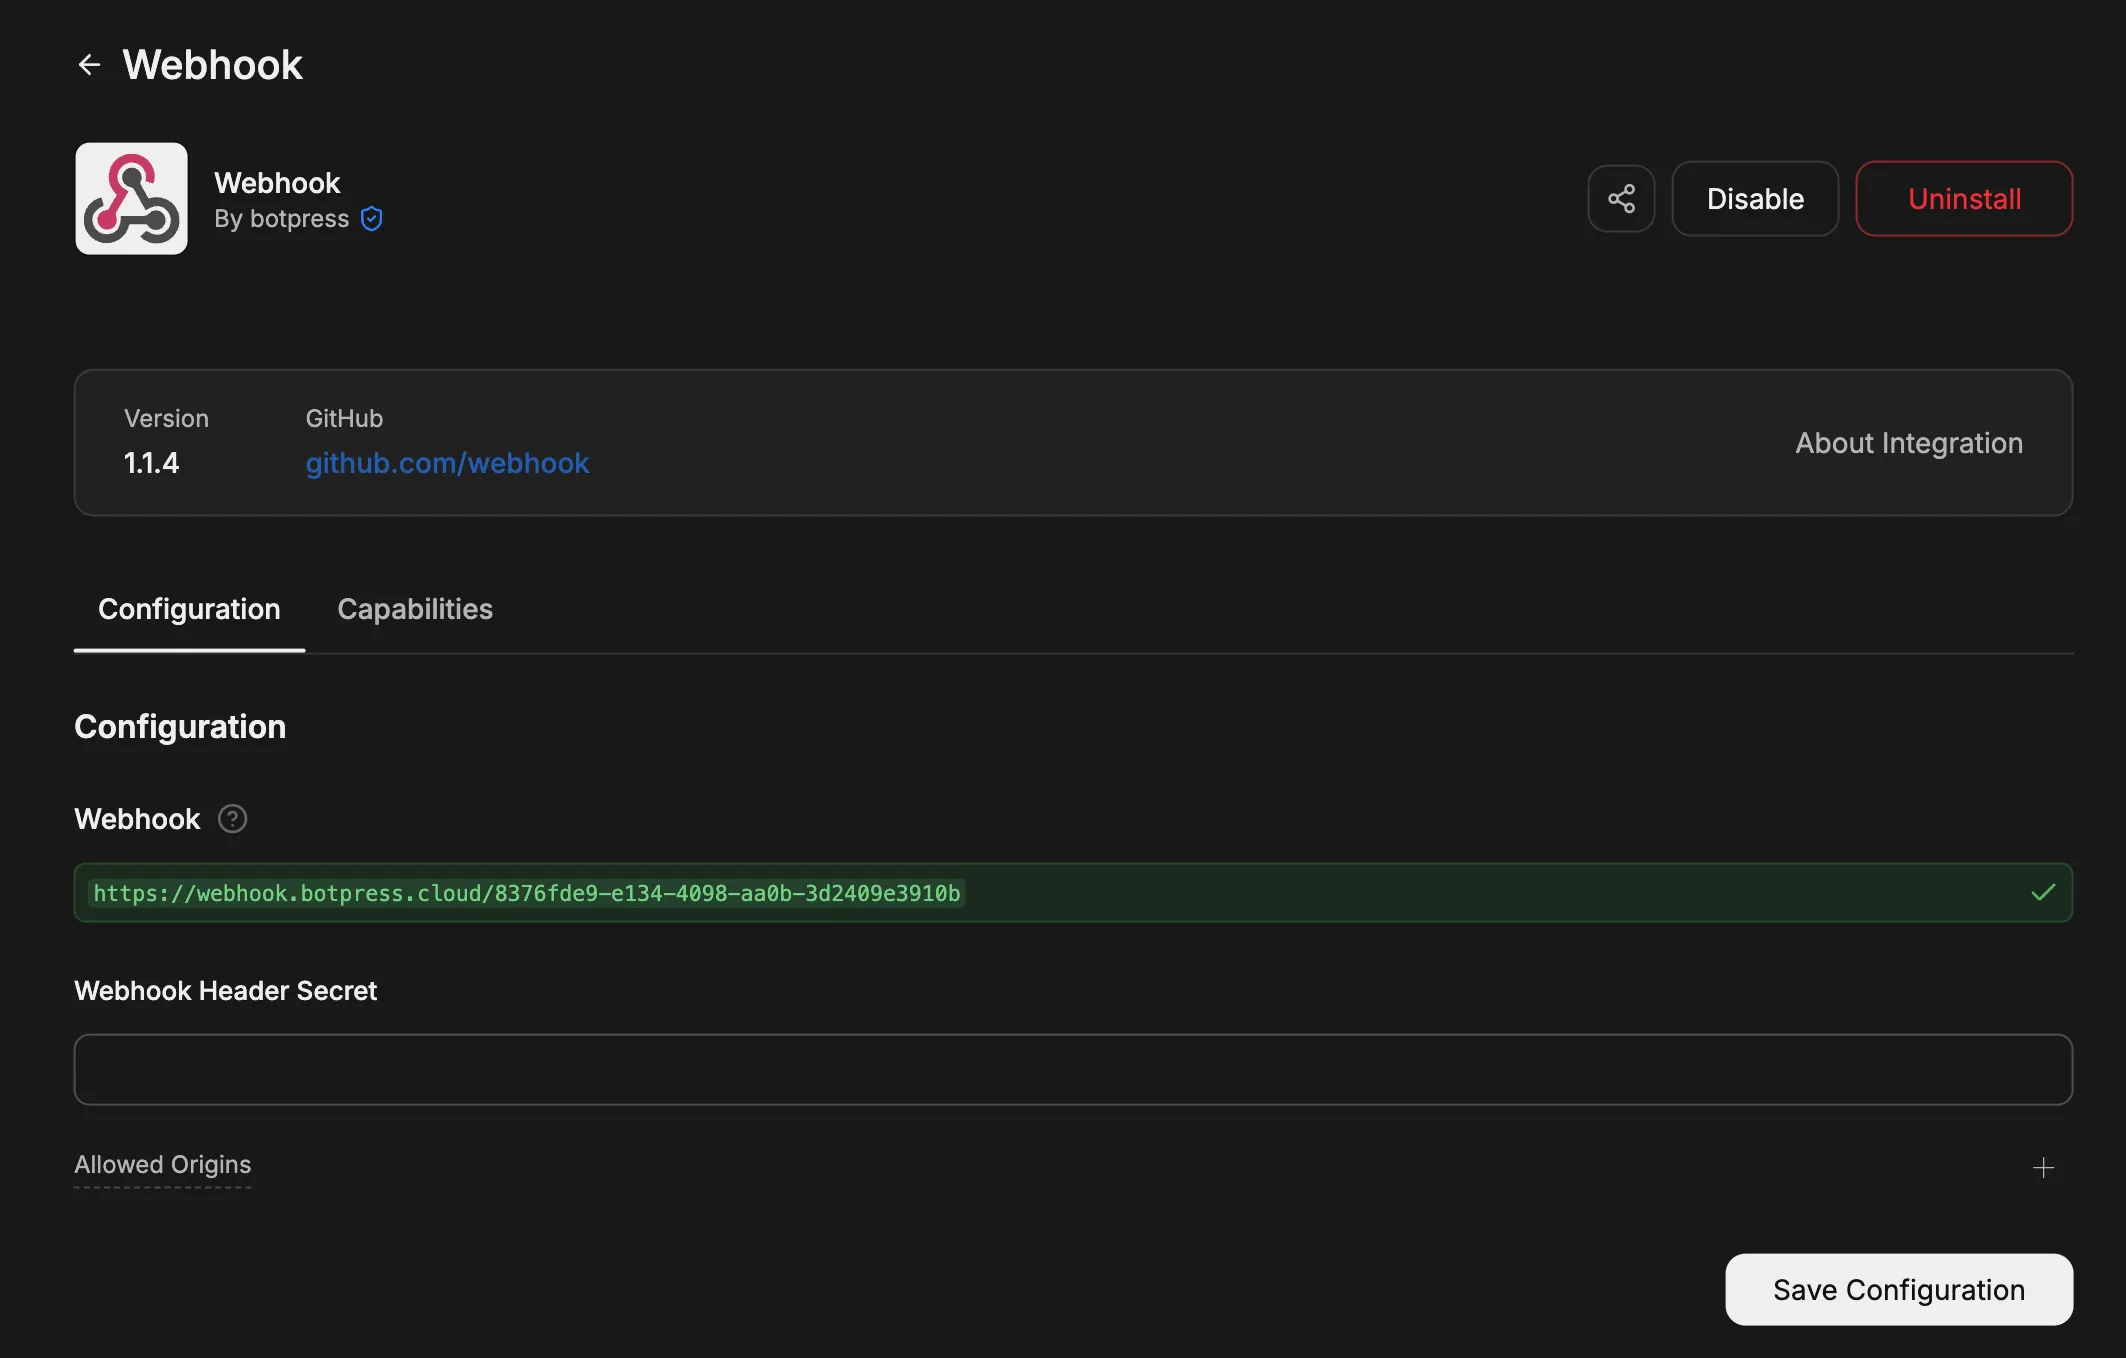
Install the Webhook integration
In Botpress Studio, select Explore Hub in the upper-right corner. Search for Webhook, then select Install Integration.
If you configured a Secret for the integration, include it in the request as the x-bp-secret header. For more
details, see Send data to your webhook.
2. Add the webhook trigger and Start Conversation in Studio
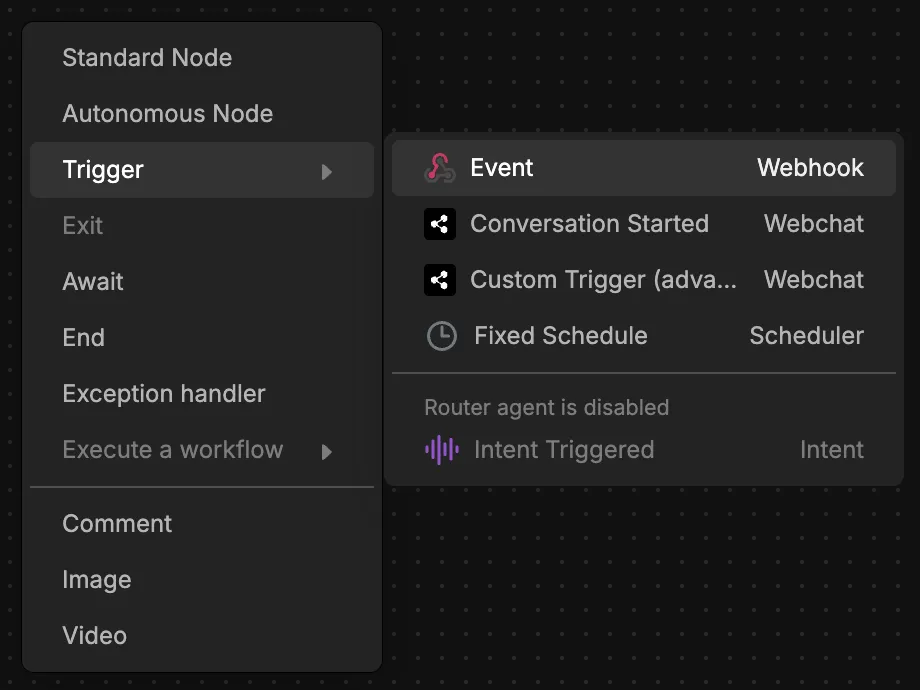
Add the Event trigger
Open the Workflow where you want to handle the webhook. Right-click on the canvas and select Trigger, then choose the Event trigger from the Webhook integration.
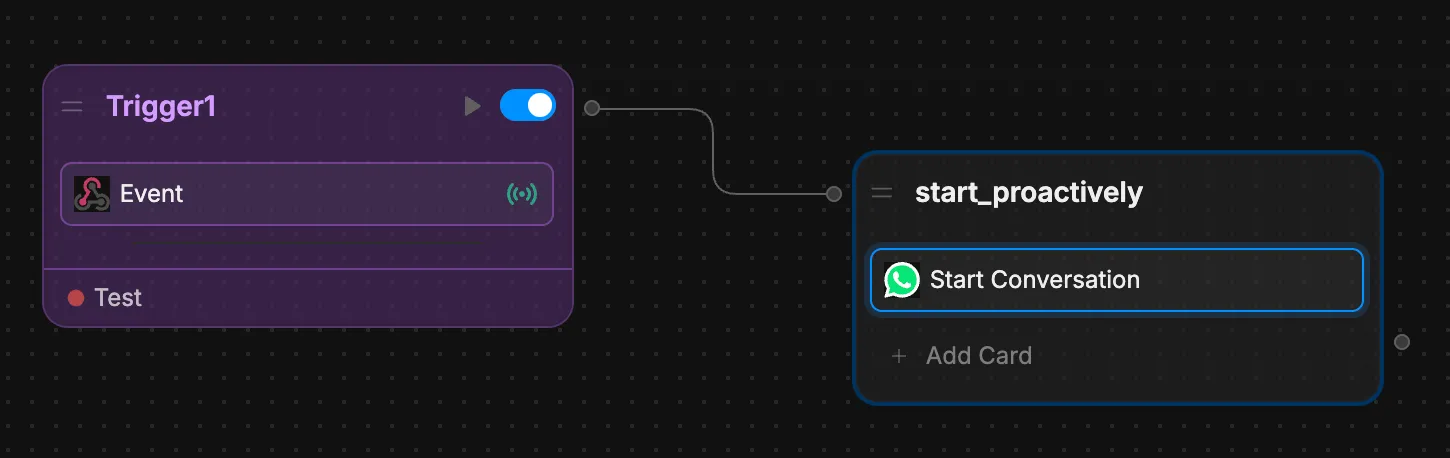
Add the Start Conversation Card
Add a Node after the trigger and add the Start Conversation Card to it.
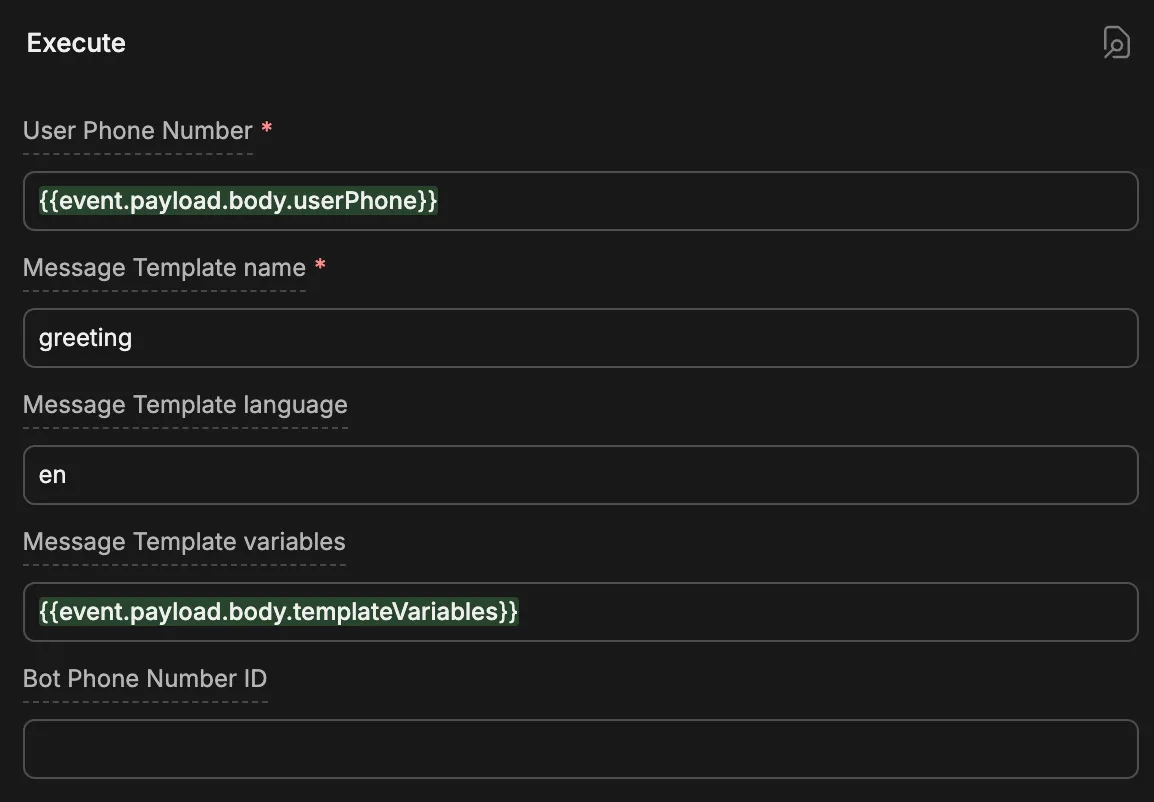
Configure the Card:
- User Phone: Use the phone number from your webhook payload (for example,
event.payload.body.userPhoneif you send{ "userPhone": "+1234567890" }). - Template Name and Template Language: Your approved WhatsApp message template and its language.
- Template Variables JSON: If your template has variables, pass them from the webhook payload (for example,
event.payload.body.templateVariables).
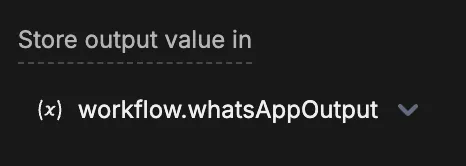
Store the WhatsApp conversation ID
In the Start Conversation Card, set Store result in to a Workflow variable (for example, whatsAppOutput). This variable will hold the new conversation’s ID.
3. Set the conversation ID so the rest of the Workflow runs in the same conversation
So that subsequent nodes (such as the Autonomous Node or your main bot Workflow) run in the same WhatsApp conversation, set event.conversationId to the ID returned by the Start Conversation Card.
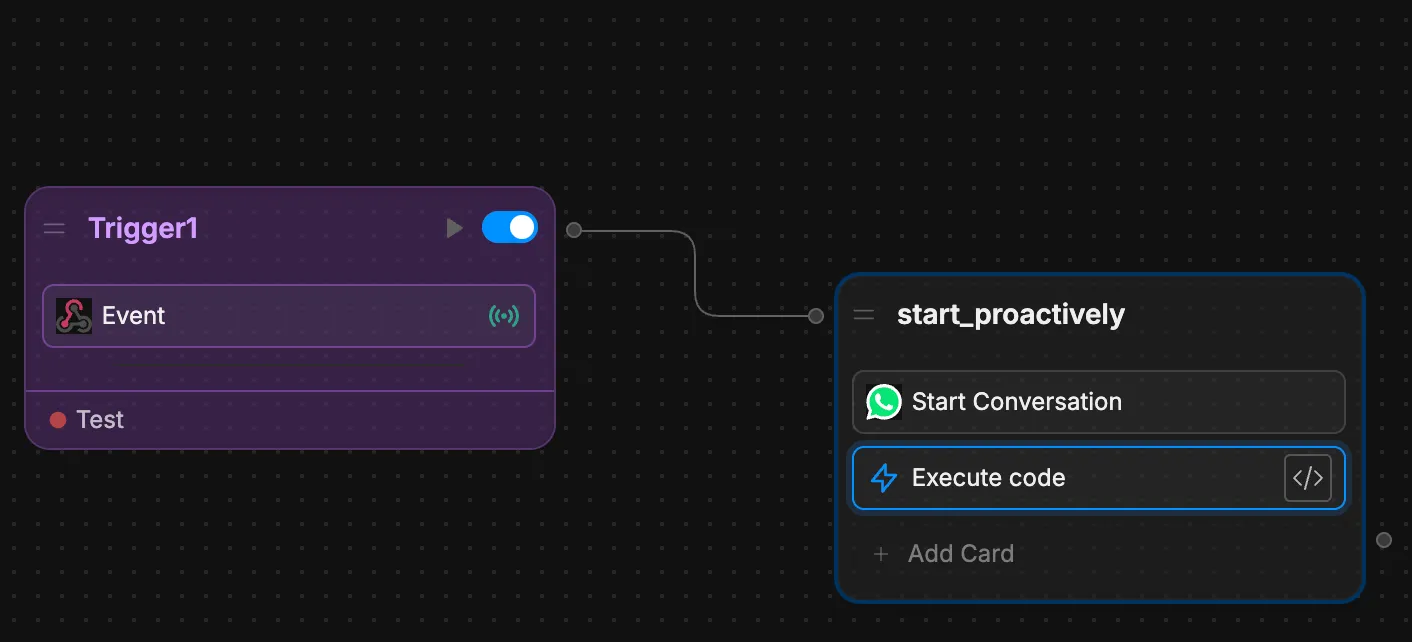
Add an Execute Code Card
Add an Execute Code Card in the same Node (after Start Conversation) or in a new Node connected right after it.
Set the conversation ID
In the Execute Code Card, assign the conversation ID from the Start Conversation output to the event:
event.conversationId = workflow.whatsAppOutput.conversationId
Replace whatsAppOutput with the name of the variable you chose in Store result in for the Start Conversation Card.
The Start Conversation Card returns an object with a conversationId property. By setting event.conversationId, you
ensure that any subsequent nodes (including the Autonomous Node or your main
Workflow) continue in the same WhatsApp conversation.
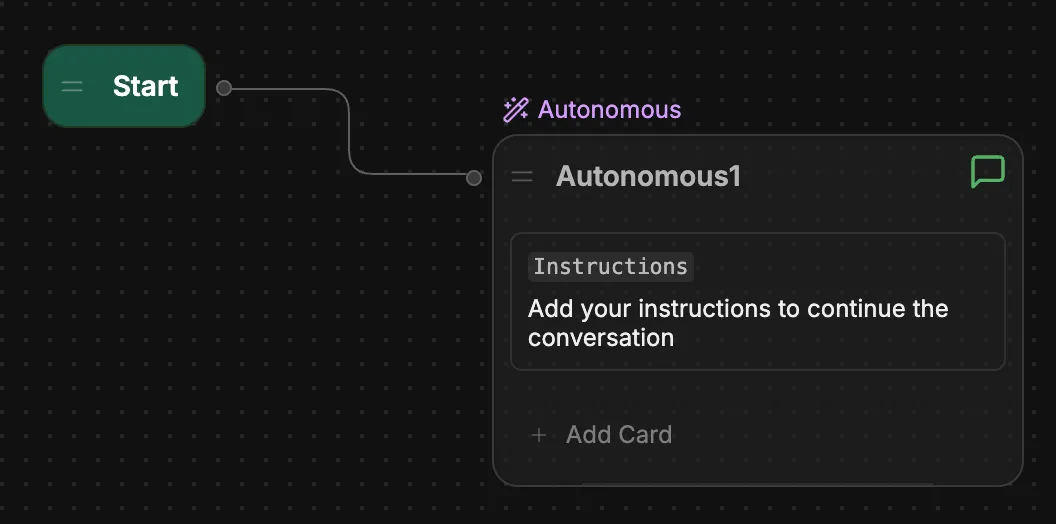
4. Connect to your main bot Workflow
Connect the node that contains the rest of your main Workflow to your START node.
That way, when the webhook fires:
- The Event trigger runs.
- The Start Conversation Card starts a WhatsApp conversation and stores its ID.
- The Execute Code Card sets
event.conversationIdto that WhatsApp conversation ID. - The conversation continues in your main Workflow (for example, in the Autonomous Node or your regular bot Workflow).
When your external system POSTs to the webhook URL with the right payload (user phone, template name, etc.), your bot will start a WhatsApp conversation and then follow your main Workflow for that conversation.